
The world of footwear has witnessed a remarkable shift towards individuality and self-expression, with more people seeking ways to stand out from the crowd. Rather than settling for mass-produced designs that line the shelves of every high street shop, enthusiasts are discovering the satisfaction of creating unique pieces that truly reflect their personality. This growing movement towards bespoke footwear is not only about artistic creation but also about taking control of quality, comfort, and the story behind what you wear. With a modest investment in materials and a bit of patience, anyone can transform a simple pair of trainers into a wearable masterpiece that captures attention and sparks conversation.
Gathering your materials and base footwear
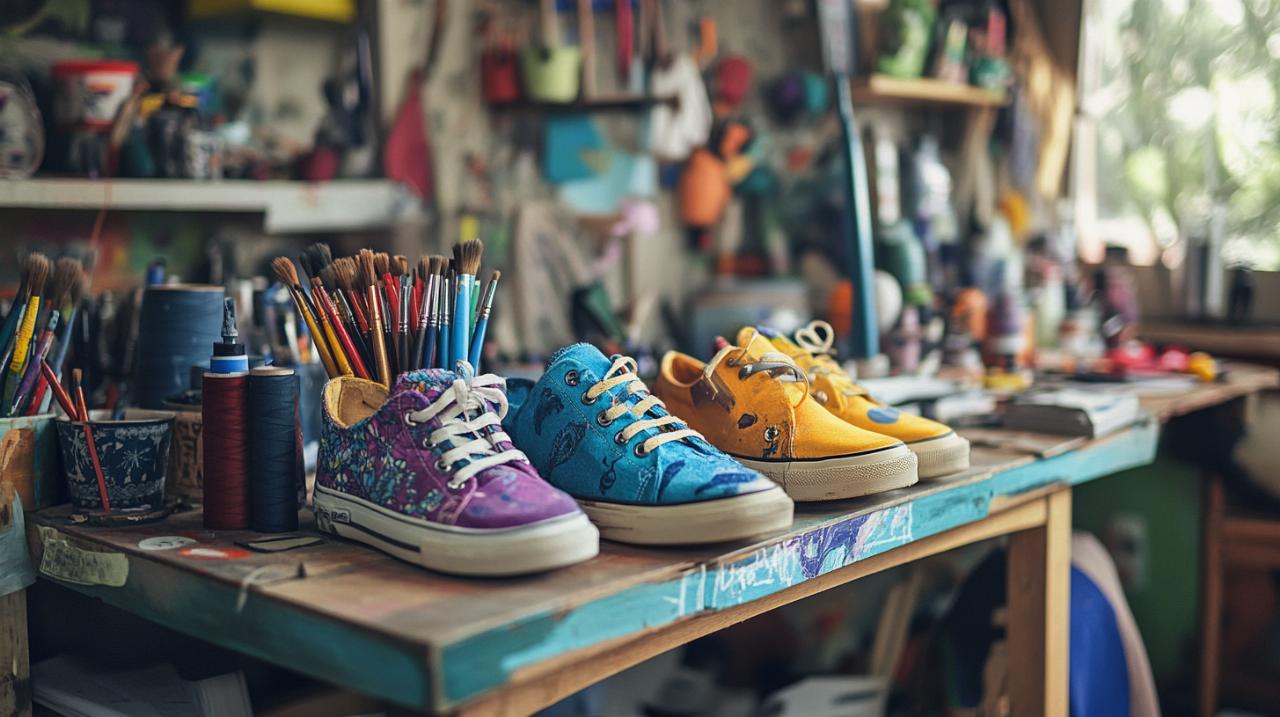
Selecting the Right Pair of Trainers or Plimsolls
The foundation of any successful customisation project lies in choosing the appropriate base shoe. Popular models such as classic Air Force 1s or timeless Converse trainers have become favourites among those looking to experiment with custom shoes, primarily because their simple silhouettes provide an ideal canvas for creative expression. However, the possibilities extend far beyond these well-known options. Canvas plimsolls offer an excellent surface for acrylic paint, making them particularly suitable for beginners who want to create your own personalized shoes at home without excessive complexity. The natural texture of canvas accepts paint readily, allowing colours to adhere smoothly and evenly. For those seeking durability and a more refined finish, leather trainers present an attractive alternative, though they do require specialist products designed specifically for treating and painting leather surfaces. Synthetic materials have gained popularity due to their affordability, yet they can pose challenges during the painting process, as some synthetic fabrics resist paint adhesion. Increasingly, environmentally conscious creators are turning towards eco-friendly materials, selecting trainers made from sustainable or recycled components that align with their values whilst still providing a suitable base for personalisation. The colour of your starting shoe matters considerably; white or light neutral tones typically work best as they allow your chosen colours to appear vibrant and true, whereas darker base colours may require additional layers of paint to achieve the desired effect.
Essential supplies: paints, markers, and protective sealants
Once your base footwear has been selected, assembling the proper materials becomes the next critical step in your shoe customisation journey. Quality fabric or leather paints form the backbone of any DIY footwear project, with brands like Angelus having earned a reputation for producing durable, flexible paints that withstand the stresses of daily wear. These specialist formulations differ significantly from ordinary craft paints, as they contain additives that prevent cracking and peeling when the shoe flexes during walking. Fine detail brushes in various sizes enable you to execute intricate designs, from sweeping colour blocks to delicate line work that adds personality to your creation. For surface preparation, acetone serves as an effective cleaner, removing factory finishes and oils that would otherwise prevent proper paint adhesion. Fine-grit sandpaper plays an equally important role, creating a slightly roughened texture that helps paint grip the surface more effectively. Protective masking tape allows you to shield areas you wish to keep paint-free, ensuring clean lines and professional-looking results. A weather-resistant finisher or clear sealant represents perhaps the most crucial element of your toolkit, as this protective layer guards your finished design against moisture, scratches, and the inevitable wear that comes with regular use. Some enthusiasts invest in an airbrush for achieving smooth gradient effects and professional-quality finishes, whilst a Cricut machine can produce precise stencils for complex patterns or logos. For those just starting out, numerous DIY kits bundle together basic supplies at reasonable prices, providing everything needed to begin experimenting with shoe design without the need to source individual components.
Designing and applying your custom artwork
Planning your design: sketching and colour selection
Before a single drop of paint touches your trainers, investing time in thoughtful design planning pays dividends in the final result. Drawing inspiration from various sources helps spark creativity and guides your artistic direction. Pop culture references, from beloved film characters to iconic album covers, offer instantly recognisable motifs that resonate with personal interests. Nature themes bring organic beauty to footwear, with floral patterns, leaf designs, or animal prints creating visually striking effects. Abstract art and geometric patterns provide opportunities for bold colour blocking and modern aesthetics, whilst street art influences inject urban energy into your personalised trainers. Some creators draw from historical eras or cultural patterns, weaving meaningful narratives into their designs. Seasonal considerations also play a role; spring designs might embrace soft pastels and floral elements, summer creations could feature tropical motifs and vibrant colours, autumn pieces often incorporate earth tones and leaf patterns, whilst winter designs might explore galaxy themes or metallic finishes. Sketching your concept on paper first allows you to experiment with composition and colour combinations without commitment. Consider how the design will wrap around the three-dimensional form of the shoe, ensuring elements align properly across seams and contours. Selecting a cohesive colour palette prevents your finished product from appearing chaotic; limiting yourself to three to five complementary colours typically yields the most pleasing results. Remember that bespoke shoes offer superior quality when every detail receives careful consideration, from the placement of the smallest accent to the overall balance of visual weight across the entire shoe.
Techniques for Painting, Sealing, and Finishing Your Trainers
The actual process of transforming your plain trainers into custom works of art demands patience and precision, qualities that separate truly impressive results from disappointing attempts. Surface preparation forms the critical first stage, as paint adhesion depends entirely on proper groundwork. Begin by thoroughly cleaning your shoes with acetone to remove any dirt, dust, oils, or factory coatings that would interfere with paint bonding. Once clean and dry, lightly sand the surface with fine-grit sandpaper, creating a slightly rough texture that provides mechanical grip for the paint. Apply masking tape to protect areas you wish to keep paint-free, such as rubber soles or metal eyelets, pressing the edges firmly to prevent paint seepage. A base coat applied in thin, even layers establishes the foundation for your design; rushing this stage by applying thick coats leads to cracking and peeling. Allow each layer to dry completely before adding the next, typically waiting fifteen to twenty minutes between applications. Most projects require three to four thin base coats to achieve solid, even coverage. When applying your main colours, the same principle of thin layers applies; three to six coats may be necessary depending on the opacity of your chosen paints and the contrast with the base colour. Hand painting allows for maximum artistic freedom, enabling you to create gradient effects that transition smoothly between hues or execute precise colour blocking for bold graphic statements. Stencils prove invaluable for reproducing logos, text, or complex patterns with clean edges. For those seeking professional-quality results, an airbrush delivers unmatched smoothness and control, particularly for subtle shading and photorealistic effects. Once your design is complete and fully dry, the finishing process begins. A weather-resistant sealant protects your artwork from moisture, scratches, and general wear. Apply several thin coats of finisher rather than one thick layer, allowing proper drying time between applications. Products like Angelus 4-Coat have earned praise for their scratch resistance and durability. After the sealant has cured completely, your shoes are ready to wear, though gentle handling during the first few days helps ensure the paint has achieved maximum hardness.
Maintaining your custom trainers extends their lifespan and preserves the vibrancy of your design. Avoid extreme weather conditions, particularly heavy rain, which can compromise even properly sealed paint. If your shoes do get wet, blot them dry with a soft cloth and allow them to air dry away from direct heat sources, as radiators or hairdryers can cause cracking. Regular cleaning with a damp cloth and mild soap keeps them looking fresh, whilst avoiding washing machines, which subject shoes to harsh agitation and temperature extremes. Store your personalised trainers in a cool, dark place to prevent fading, ideally in their original box or a breathable container. Stuffing them with acid-free tissue paper helps maintain their shape during storage. Applying an additional layer of sealant every few months reinforces protection, particularly if you wear your custom shoes frequently. For stubborn stains, specialised cleaning products designed for painted surfaces offer the best results without damaging your artwork. Temperature and humidity control matters more than many people realise; storing shoes in conditions between fifteen and twenty-one degrees Celsius with humidity levels around fifty to sixty percent prevents material degradation and paint deterioration. Using shoe trees helps maintain structure, whilst periodic protective spray applications create an additional barrier against the elements. With proper care, your bespoke footwear can remain vibrant and structurally sound for years, serving as a testament to your creativity and craftsmanship whilst allowing you to showcase your individual style wherever your feet take you.